RAMZY BAROUD offers six reasons why Netanyahu is prolonging conflict in the Middle East

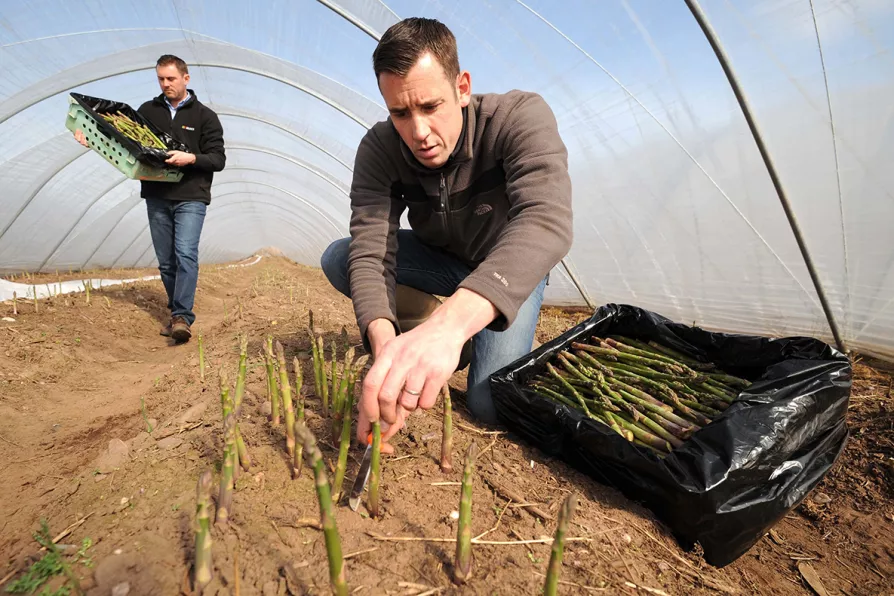
 Simon Hibbs (left) and Paul McGuffie at New Farm Produce Ltd in Lichfield, Staffordshire
THE best time to plant an asparagus bed is three years ago, the old saying has it, because the wait is about that long before you get a full crop. The good news is that once it starts cropping it should keep going at full strength for at least a decade, and can still be productive 20 years on.
In Britain it is traditional to stop cutting asparagus around June 21, giving the plants the rest of the year to recover their strength ready for next season. You get around six to eight weeks of harvest annually, starting in April, at a time when the garden isn’t producing much else except puddles. I think it’s that, as much as the supermarket price, which makes asparagus seem so luxurious, more so perhaps than anything else on the vegetable patch.
I’ve planted a few asparagus beds over the years, and some have been great successes while others have been equally impressive failures. Unfortunately, the rules don’t always help.

Commiserations if you failed this year, MAT COWARD offers six points which, if followed religiously, will ensure you succeed next year

MAT COWARD rises over such semantics to offer step by step, fool-proof cultivating tips


